Design tips
Keeping memories alive: Australia in a CEWE PHOTOBOOK
Annika and Mathias Koch show how they captured their memories of a trip to Australia. With a self-painted map, video, a harmonious design and special photo ideas.
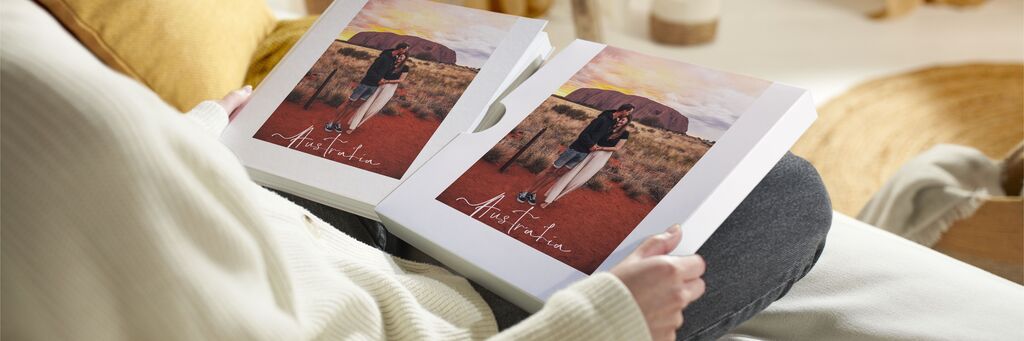
Our trip to Australia was a dream come true. We saw so much in five weeks and were enchanted by nature. To keep the memories alive for a long time, we designed an XL Square Photo Book with Matte Photographic Paper. We immortalised all our favourite photos here and also chose a slipcase for this special treasure.
We made full use of the various options available in the CEWE Creator Software. Here are our tips.

Create your CEWE PHOTOBOOK now
Our trip consisted of many stopovers, all of which could not have been more different. To give you an overview of the trip, we have included a self-drawn map of Australia on the first page and marked the places we visited. This can also be found on the back cover.
Australia Map
This is how it works:
- Firstly, I printed out a map of Australia.
- I cut it out, placed it on watercolour paper and drew the outlines.
- I coloured in the map with watercolours and traced the outline with a black felt-tip pen.
- After the card was dry, I took a picture of it.
- I uploaded the picture to our CEWE PHOTOBOOK in the CEWE Creator software.
- Within the software, I cropped the card using the CEWE Photoshow crop function so that no superfluous watercolour paper is visible.
- In the software, I edited the card a little, saturated the colours and made them a little brighter.
- Now the card can be copied as often as you like and resized as required: for example in the table of contents or on the cover.
Discover design tips now
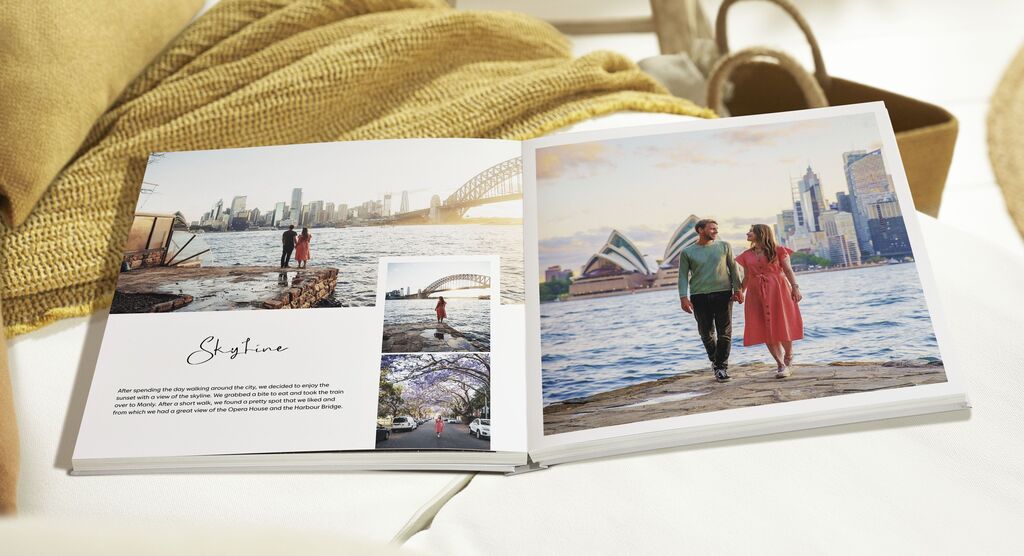
Recurring chapter pages
There is a separate chapter page for each place we have travelled to. This is structured in the same way for each chapter - a block of text on the left-hand side, with the title of the place and the time period above it. On the right-hand side is one of our favourite photos from the chapter. The font used for the headings on the inside pages and the cover is the calligraphy font "Sweet Poems". We use the easy-to-read, sans serif font "CEWE Head" for the body text and the serif font "Dream Orphans" for the additional text.
Design of the inside pages
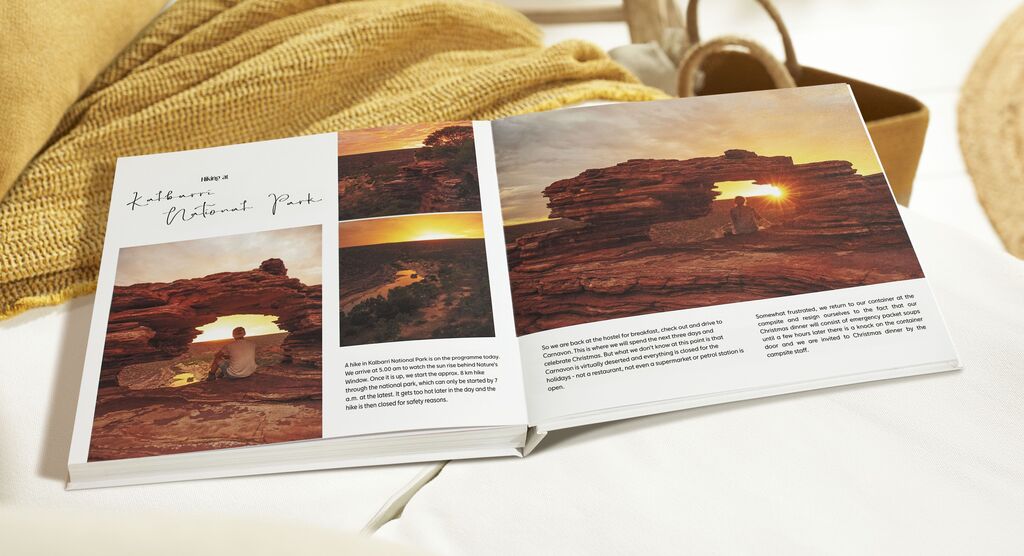
When designing the pages in our photo book, it is important to us that we get a harmonious overall picture. That's why we make sure that we don't overload the pages with photos, that the photos have similar colour tones and that the lighting mood is similar in the individual photos. We also make sure that the photos are varied - sometimes the focus is on us, sometimes the skyline, sometimes nature and, if possible, animals.
Plenty of space for particularly beautiful photos
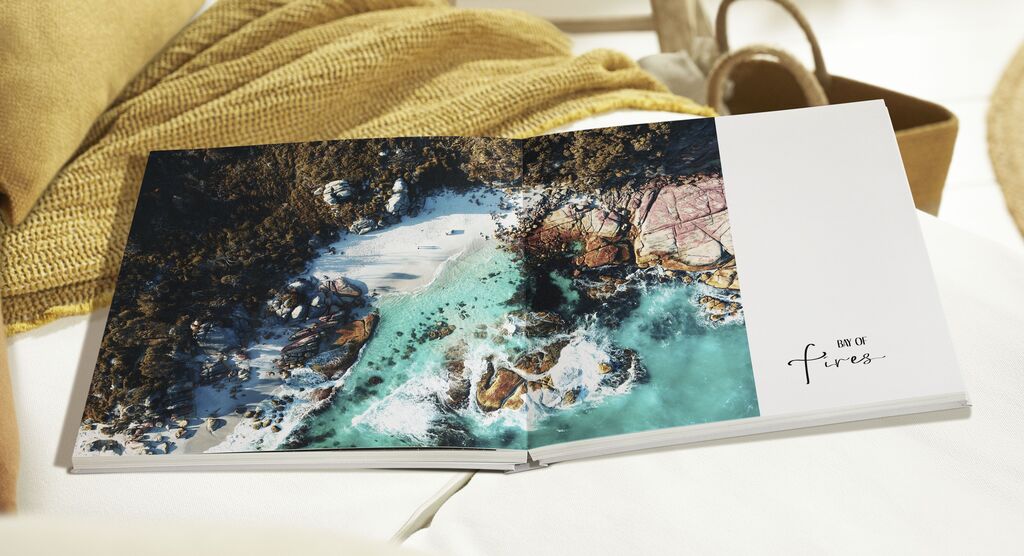
Naturally, many photos are taken while travelling. We pay special attention to particularly beautiful photos by giving them a double page to themselves. A small strip of white space in the margin gives the photos enough room to make an impact.
Consistent style thanks to Filter
In order to achieve a uniform style for all photos, we have edited them with the same filter. These are available in various image editing programmes and can be created and saved by yourself. When editing, we make sure that the photos remain as natural as possible and that colours are not distorted.

The back gives an insight into what else we experienced on the trip and shows photos of various places. The self-painted map also has a place on the back. Another design element that we like to use on the cover of our photo book is highlights - this gives the photo book that certain something.
The most important tips for our Australia photo book
- We designed the CEWE PHOTOBOOK in the "XL Square" size and selected "Matte Photographic Paper". This means we have no fold in the centre of the double pages and more design freedom.
- In the design of the photo book, we give the photos plenty of space to take effect, as well as on the title page.
- On the front we show our absolute favourite picture of the trip - in this case a photo of the two of us at sunrise at Uluru.
- The back gives an insight into what else we experienced on the trip and shows photos from various places on the journey.
- The self-painted card also gets a place on the back.
- Another design element that we like to use on the cover of our photo book is a finish - this gives the photo book that certain something.
On the last page of our photo book we have included a summary of the trip, which is taken up in the film strip. Let me explain how:
- Simply drag the video from your desktop onto the desired page or insert it into the book like a picture.
- A QR code and a suggestion for the film strip will then appear.
- The QR code is important in order to be able to scan the video later and can only be changed in size and position, but not removed.
- The film strip is optional and can either be removed or changed as desired.
With the CEWE PHOTOBOOK, we will always have vivid memories of this marvellous trip.
Annika and Mathias Koch